
Build a trained chatbot with your documents in 3 minutes
Knowledge is stored in your documents. AI Binding allows you to train AI with documents and helps you resolve problems with a few simple clicks.
Requirement(s)
- Registered an AI Model. In this post, we will reuse the one we registered in the post Build OpenAI Chatbot in 1 minute.
Steps
Login to the AI Binding platform and access the Getting Started page.
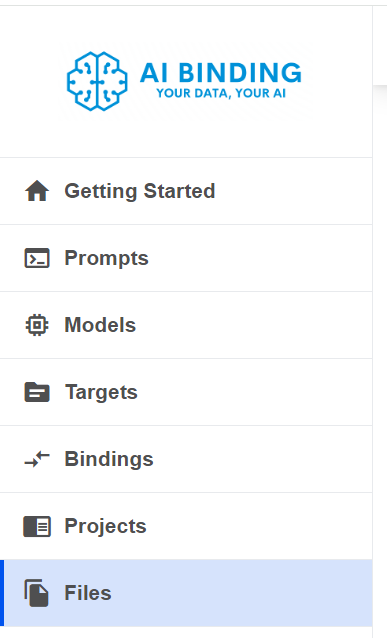
In the main menu, select Files.
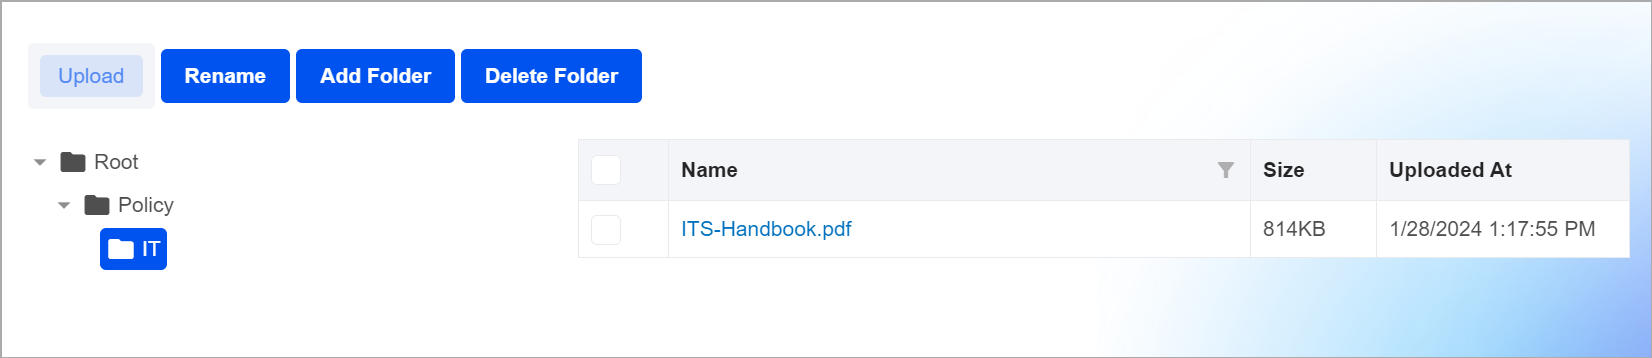
Let's say we are going to add some existing documents related to IT Policy. In the File Manager, make sure the Root folder is selected, and then click the

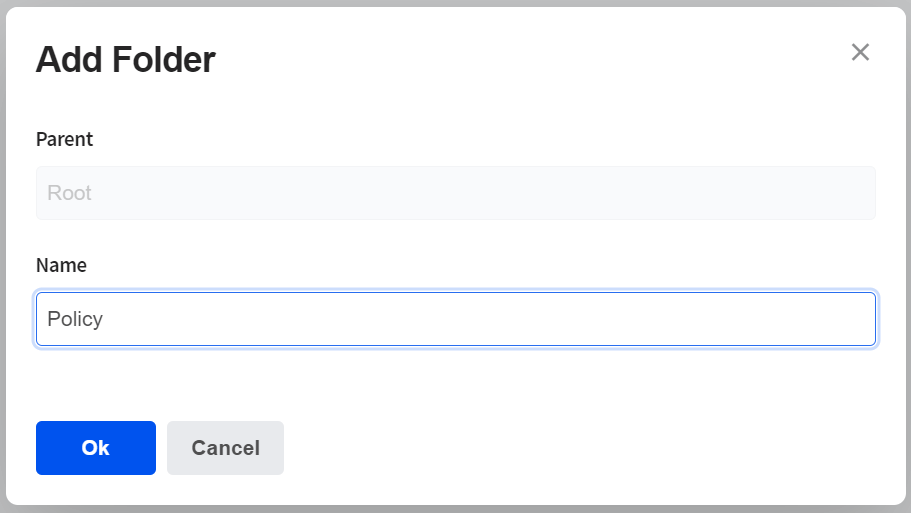
In the Add Folder pop-up, enter "Policy" as the folder name.
Let's add a sub-folder "IT" under the newly created Policy. To do that, first, select the Policy folder.

Then click the "Add Folder" button. Enter IT as the name. Now, let's select the newly created IT folder on the folder tree.

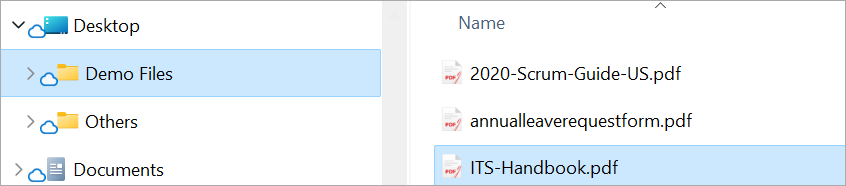
Click Upload and select an "IT Policy" document which is in PDF format in our case.
After successful upload, the File Manager lists the file.
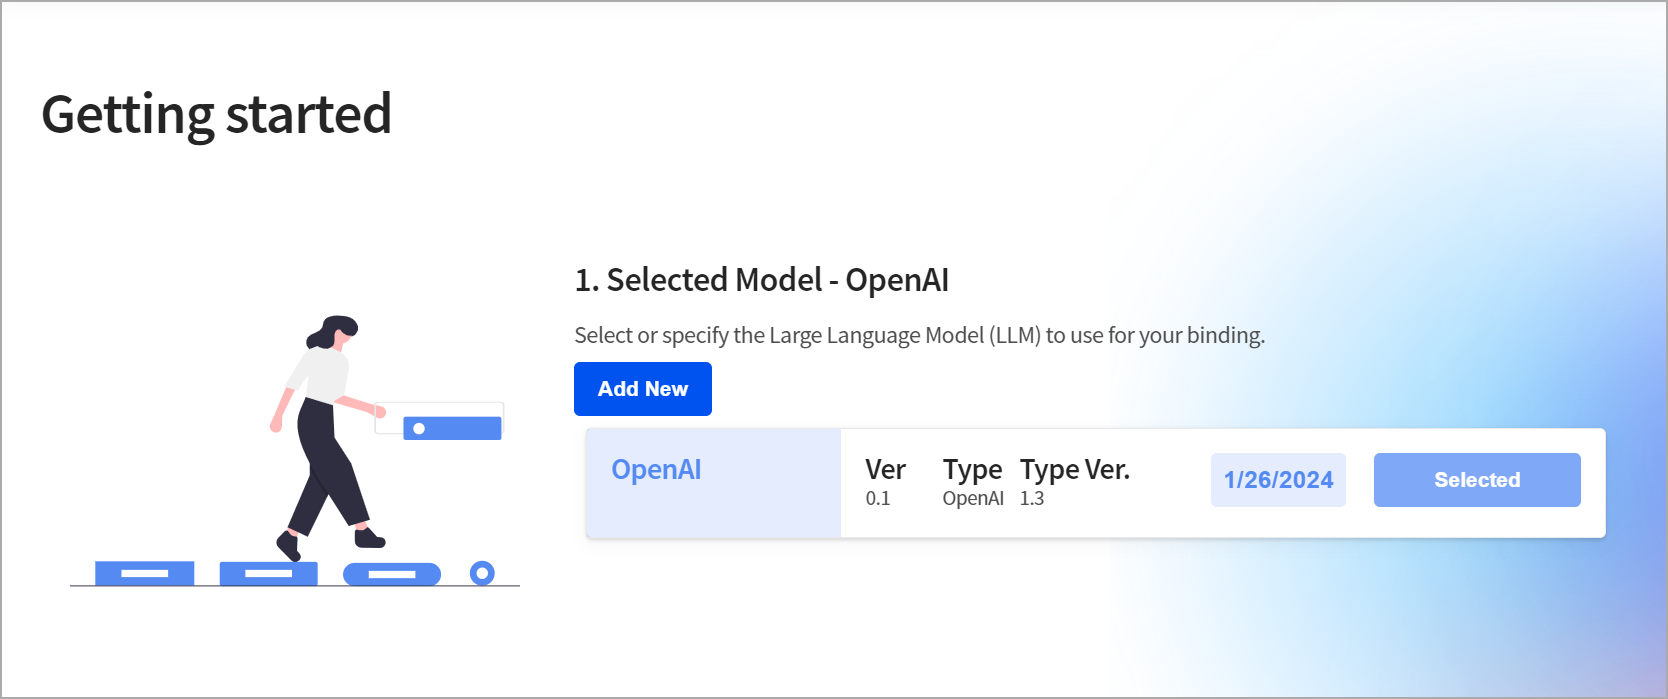
In the main menu, select Getting Started.
Select or register an AI Model. I have already registered OpenAI before and it is the only model I registered, so it is selected by default.
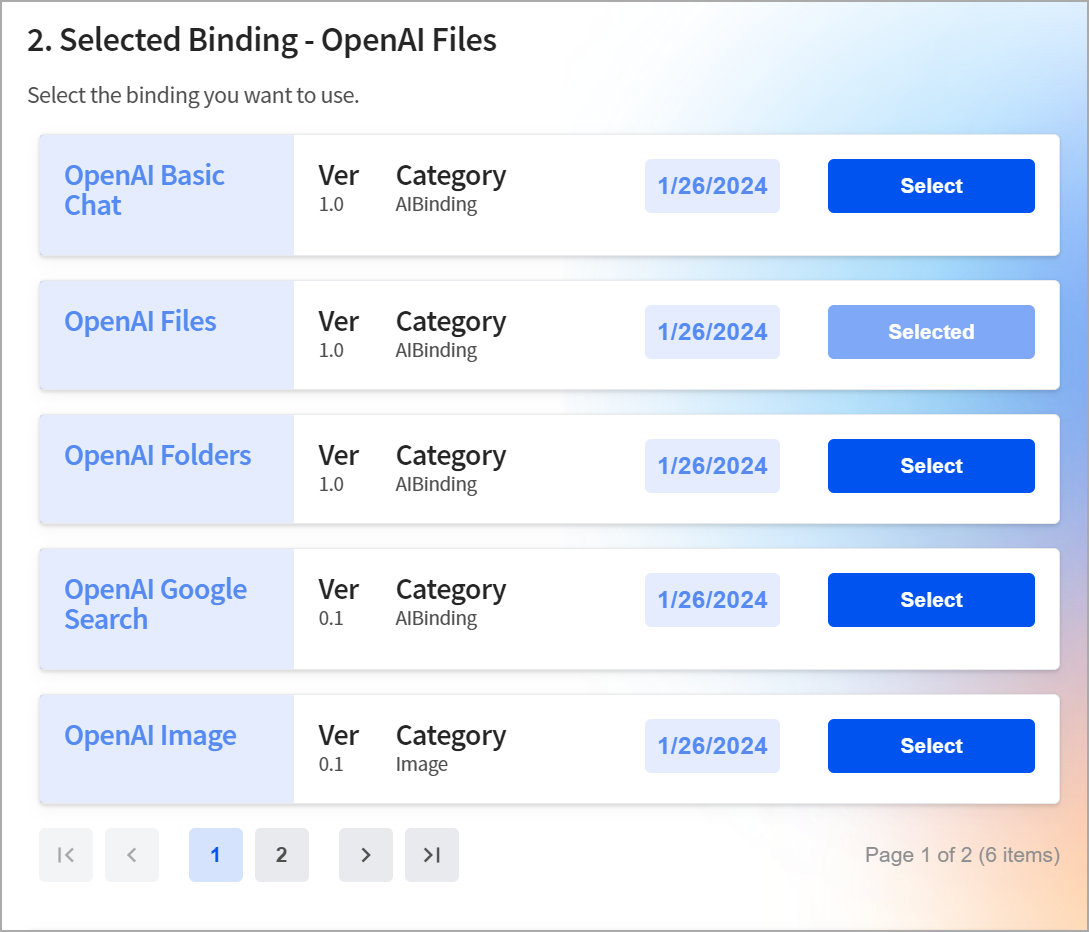
With the Model selected, you can find the corresponding available Bindings. As I have OpenAI selected, let's select the binding OpenAI Files.
With the Binding "OpenAI Files" selected, Step 3 is to customize the Target.
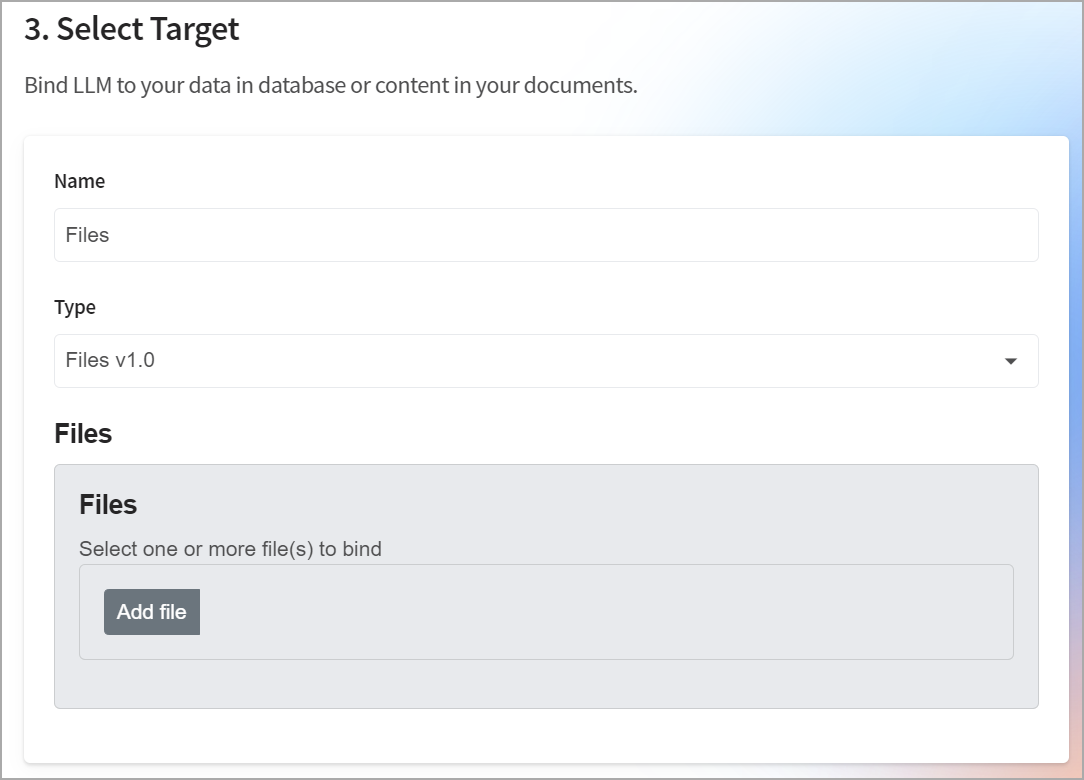
Under the Files section, let's click the "Add file" button under the Files section. It allows us to add one or more files. Let's select the file we just uploaded and name this file Target "IT Policy handbook".
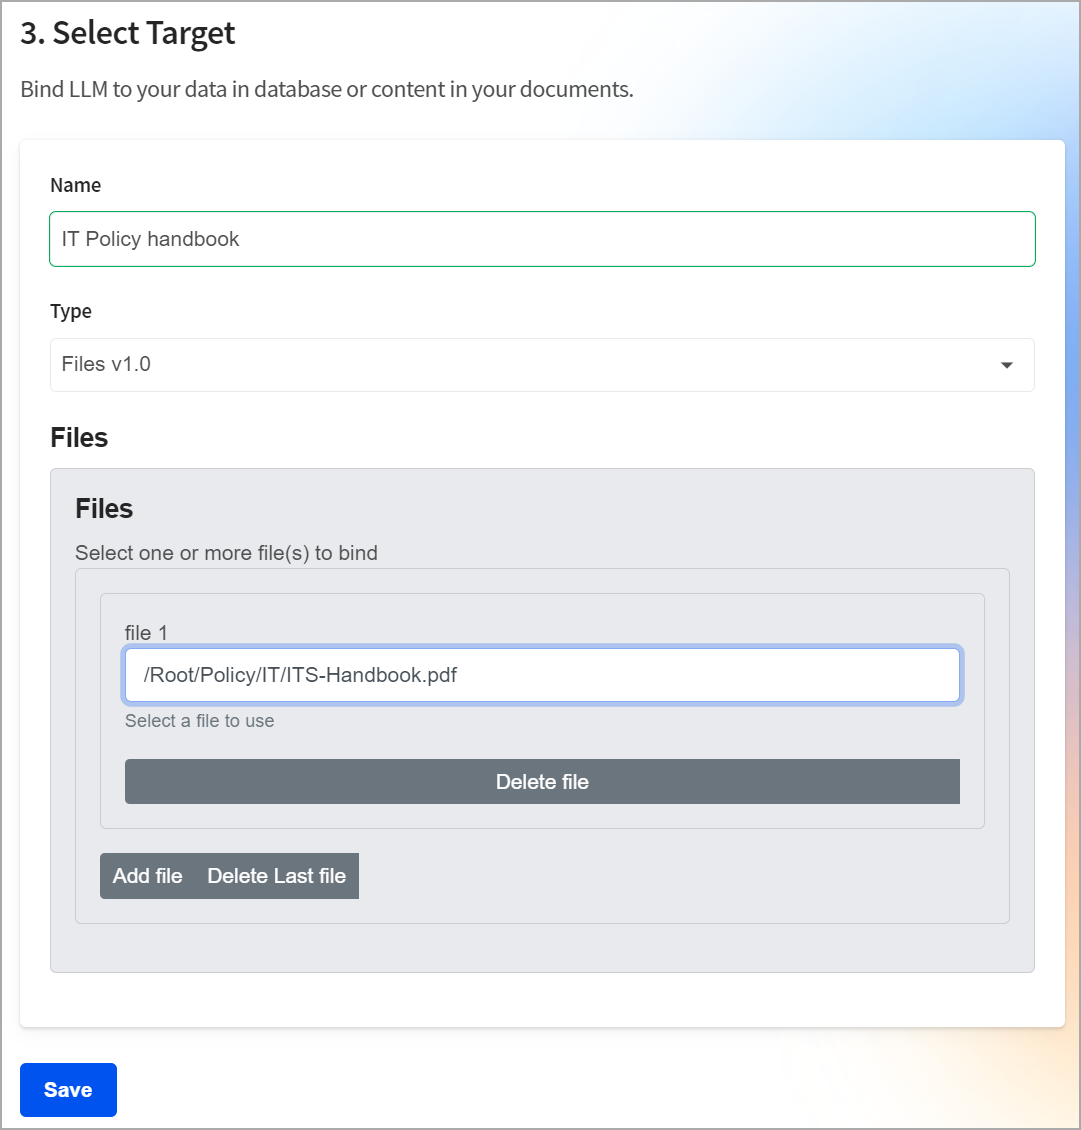
Click the "Save" button in Step 3.

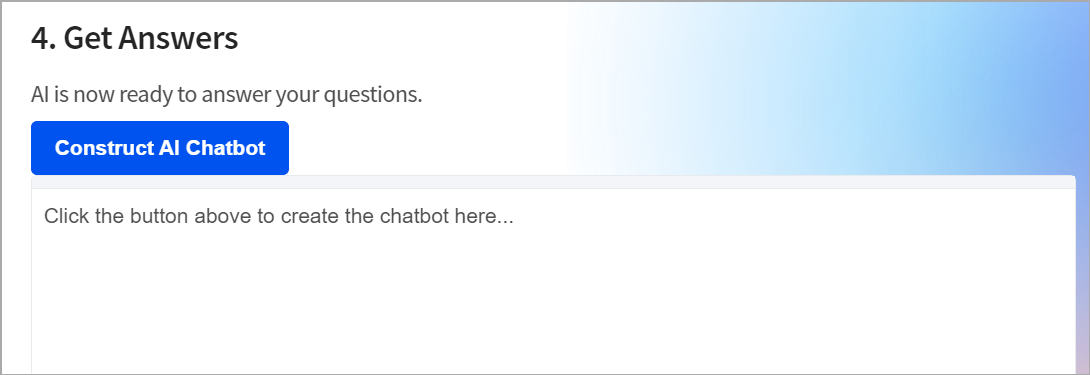
Finally, let's click the "Construct AI Chatbot" button to create our customized chatbot.
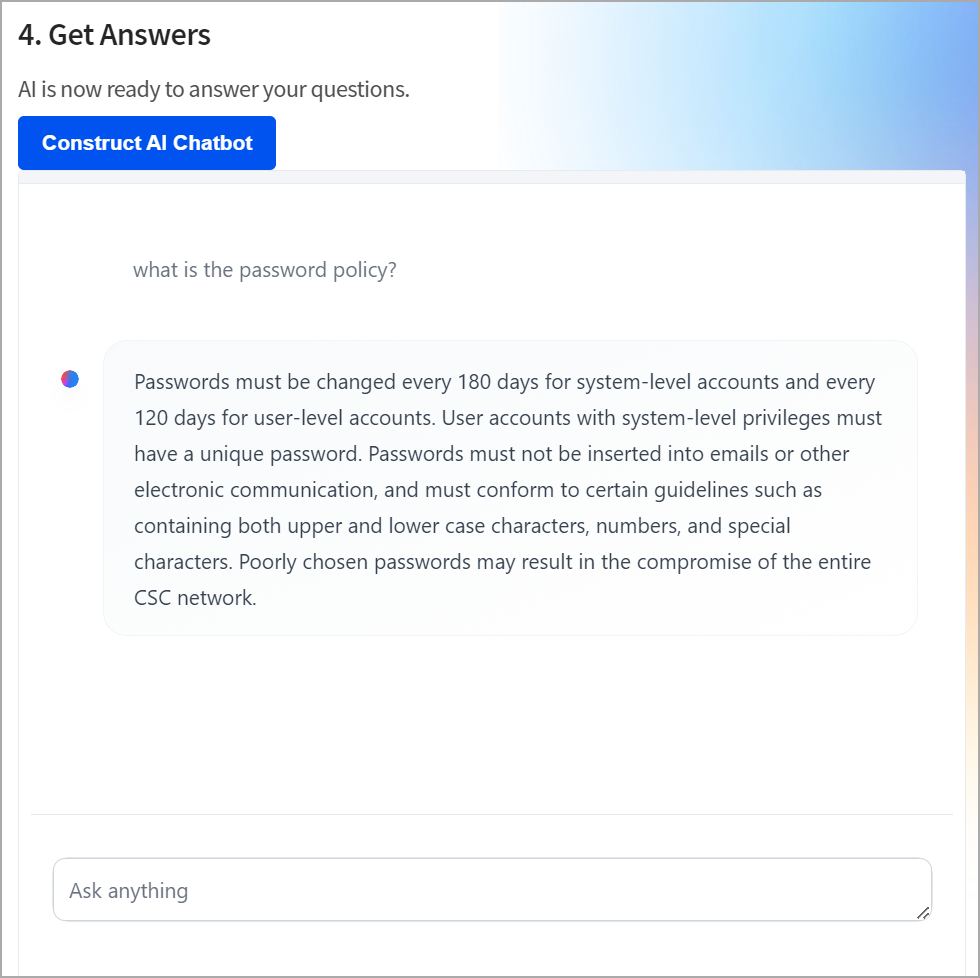
With the Chatbot created, we can now consider it as our IT helpdesk and look up some information. For example, we might ask about the password policy.
What you achieved in AI Binding...
In the past few minutes, you have just...
- added a folder and a sub-folder to categorize the files we are going to store.
- uploaded a file to be used to train generative AI.
- selected a registered Model.
- selected the OpenAI Files Binding.
- customized the "Files" Target and saved it for later use.
- constructed the AI Chatbot (and behind the scenes, a Project "Getting Started - OpenAI Files" is created for you).
What's Next
- Access your specialized chatbot again without re-creating it.
- Share your chatbot with others.
- Embed your chatbot to your websites or enterprise applications.
- Integrate the capability of generative AI with your enterprise applications through a simple API.